
Many years ago, my father owned a home-made 12 foot canvas covered boat with a 2 1/2 horsepower Johnson outboard motor. The boat and motor were used for years for fishing and lake exploration. The boat was light enough to be placed on boat carriers on top of the family car. My father sold the boat and motor in the late 1950's.
In the late 1940's, my dad and I took the 12 foot boat on a week long trip thru a number of large connecting lakes. We camped in a tent on some of the islands, caught some fish to eat and enjoyed being together. When we started out, the weather was nice, a little windy and sunny.
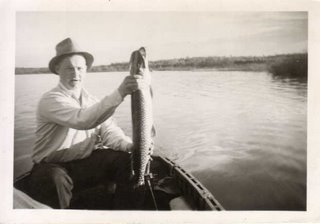
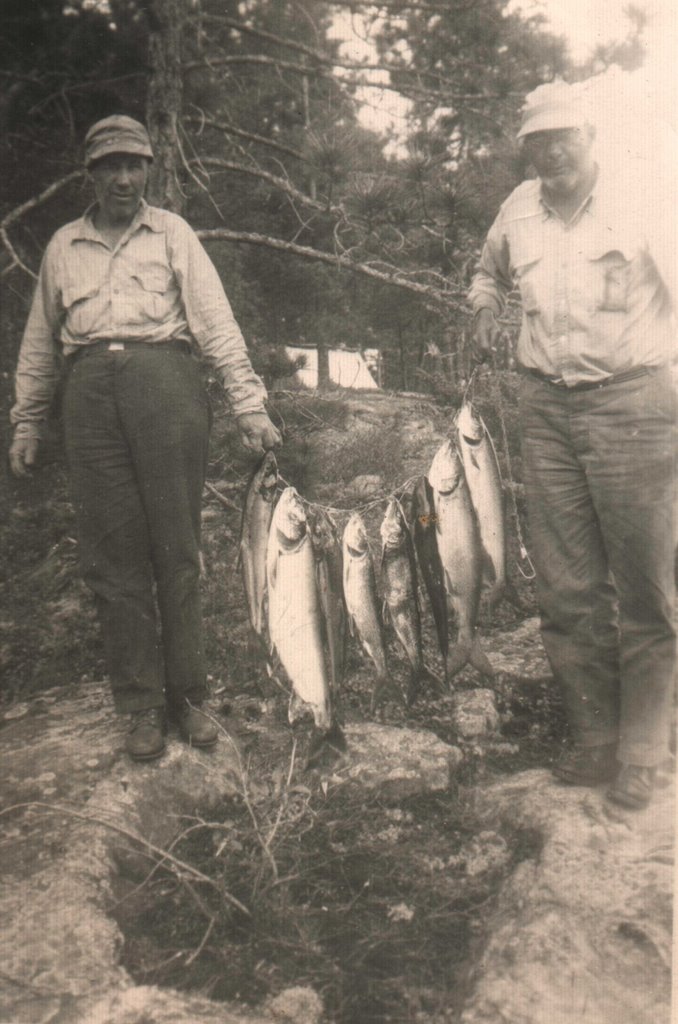
Later in the week, the wind picked up when we were crossing one of the large lakes. The waves grew into "white caps" and then into large rolling waves., That 12 foot boat did well in those waves. When we went into a wave trough, we could not see land. May dad had that 2 1/2 horsepower Johnson humming along just great. We both had our life jackets on and hoped we would not take on much water. Eventually, we reached a beach near a resort which my dad knew; and there we took on a big splash of water. We were safe and sound and waited out the wind storm at the resort. The people at the resort said that even the big boats would not go out into that wind storm.
After the wind storm subsided, we resumed out trip. On our way back to our point of beginning, my dad suggested that we portage the boat, motor and our gear. The portage was about 1/2 mile and required several trips. We placed a small wheel on top of the top deck at the bow of the boat. We turned the boat over, with the boat bottom upward. We both grabbed the stern transom and wheeled the boat across the portage. Another trip back, and our motor and gear were across the portage. We found the bay was very calm. We continued on doing fine, but the wind slowly picked up as we were going down the center of the bay toward the main part of the large lake.
All of a sudden, the boat landed atop a large submerged rock. The motor stopped and there we were!! We could not move. My dad suggested we get out the paddles.
The paddles were placed vertically, one on each side of the boat. My dad had one paddle and I the other. The paddle tip was placed atop the submerged rock and we waited for a larger wave. After a few minutes a large wave came along and my dad called out that we both push down on our paddles.
Alas the boat came off the rock. My dad started the motor and we both felt releaved and out of danger. The rest of the trip was without any major event.
We arrived at the public dock at our point of beginning . Here my dad ran into an old friend and they talked for at least an hour about our week long wonderful trip and that 12 foot boat.
In the 1970's I purchased a used 17 foot alumacraft canoe. I still have the canoe, but we don't use it much. It is ideal for portaging from one lake to another and for canoe trips.
I thought I needed a fishing boat and a larger outboard motor. A deal came up and I bought a used 14 foot boat with a console control system, a 25 horsepower motor and trailer . Big Mistake!!!
The boat size was too small for the large lakes in our immediate area. It would be okay for the smaller lakes, but not the big ones.
I traded the 14 foot boat, motor and trailer in for a new 16 1/2 foot Aumacraft boat, a new Johnson 25 horsepower and a new Shorelander trailer. The boat was wider and deeper with more stability. The boat came with cushion seats, fish well, storage compartments, night lights and bulge pump. Just enough items to add some comfort.
The 25 Horsepower Johnson is unique as it has 3 cylinders, in lieu of 2 or 4 that other motors have. It runs well, with ample boat speed.
Most of the boats and motors in the marine docks around, are larger with faster and more powerful motors. Motors up to 200 horsepower are not uncommon.
The lakes around our area are numerous; Almost a life time of fishing and exploration. Within a 15 mile radius from our cabin there are 25 different lakes of various sizes and shapes.
 Wood decay is created by microscopic fungi which feeds on the starches and sugars that are in the wood. The fungi slowly destroys the wood cell structure of the log.
 Wood decay fungi requires four conditions to survive: a warm temperature (about 70 degrees to 100 degrees F), oxygen, wood (food source), and water. Keeping the water away from the log contruction is the most effective means of decay control.
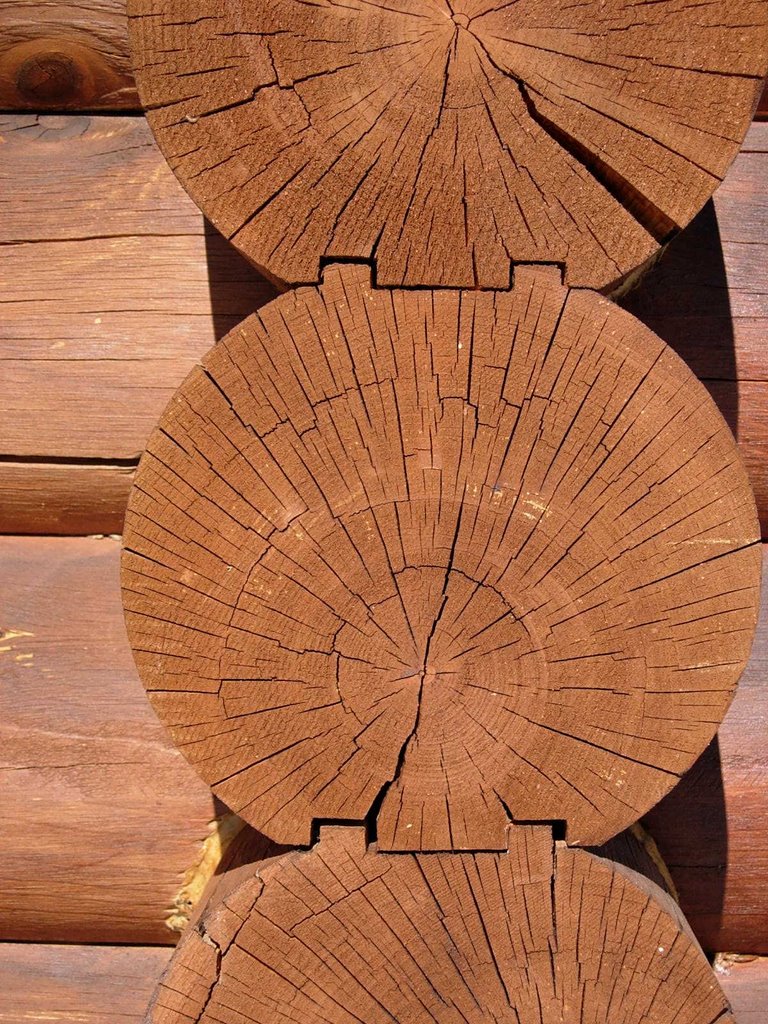
 Of course, choosing the proper wood species helps control wood decay too. Wood species such as cedar, cypress, redwood heartwood are naturally resistant to decay and insect attack. The heartwood is that portion of the log that is the central column of wood that runs through the center of the log. The sapwood of the log is that wood that surrounds the heartwood and is less durable in nature. The sapwood is the light colored wood: whereas, the heartwood is the darker portion of the log.
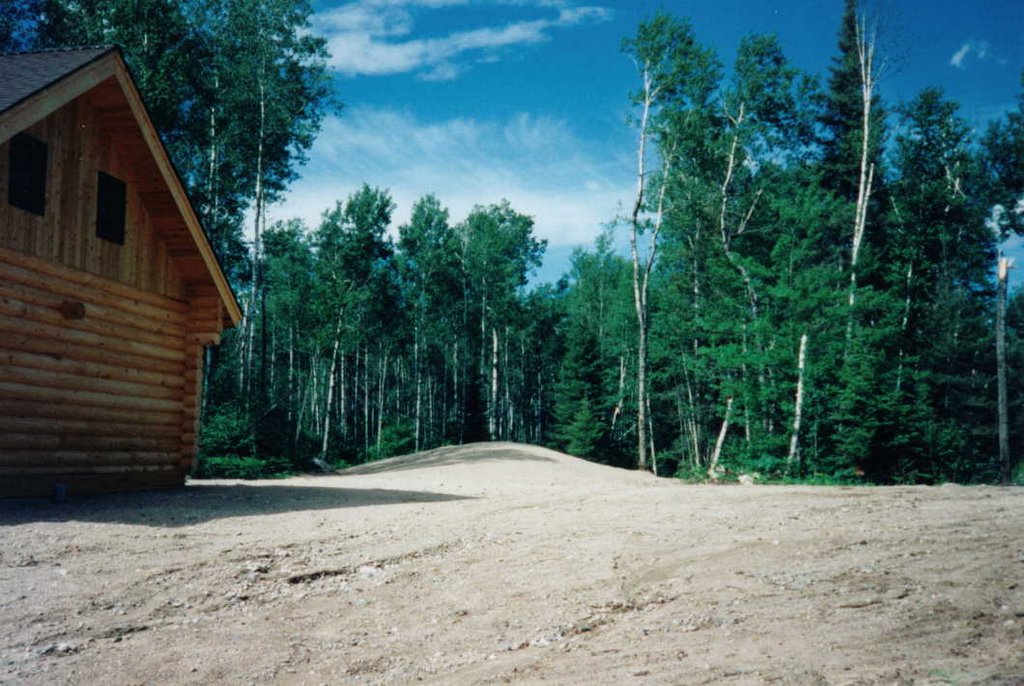
 The historic log structures of Europe, United States, and Canada are grand because of the virgin timber of years ago. These virgin timbers had large portions of heartwood, thus these log structures have stood for years. Some good examples are the Lodges of Yellowstone, Glacier, and Yosemite National Parks.


